You spent good money getting bulls semen-tested and checked over before turnout. That’s the right thing to do, and it filters out the duds before they ever leave the corral. But a passing grade in April tells you what a bull could do that morning. It says nothing about what he’s doing in the third week of June, twelve miles back in the breaks, with forty cows to cover and another bull crowding him off every heat.
A bull that tested fine can go sterile from a summer fever. He can bruise a foot, pull a stifle, or tear up his sheath fighting. He can simply lose interest. None of that shows up on the test sheet, and none of it shows up in your calf crop until you’re preg-checking in the fall and coming up short. By then the fix costs you a year.
Ride through the bulls, don’t just count them
Counting head at the water gap tells you they’re alive. It doesn’t tell you they’re breeding. Once a week through the heart of the season, put in the time to actually watch the bulls do their job. Early morning and evening are when cows show standing heat, so that’s when you’ll see whether a bull is following a cow, sniffing, and settling her—or standing off by himself under a tree while a younger bull does all the work.
Look at how he moves. A bull that’s stiff getting up, favoring a hind leg, or short-strided in front is a bull that’s about to quit breeding whether he wants to or not. He can’t cover a cow if it hurts to rear up. Watch him walk twenty yards. Lameness is the single most common reason a sound bull stops settling cows in the middle of the season, and it’s easy to miss if you only ever see him standing at the tank.
Check the obvious equipment too. A swollen sheath, a prolapsed or injured penis, cuts, or an abscess along the belly all take a bull out of production and can turn into a bigger problem if you leave them. A bull that’s gone off feed and dropped condition fast is worth a closer look—summer footrot and injury both drag a bull down quick, and a thin bull isn’t going to have the drive to keep chasing cows.
Watch the fighting and the pecking order
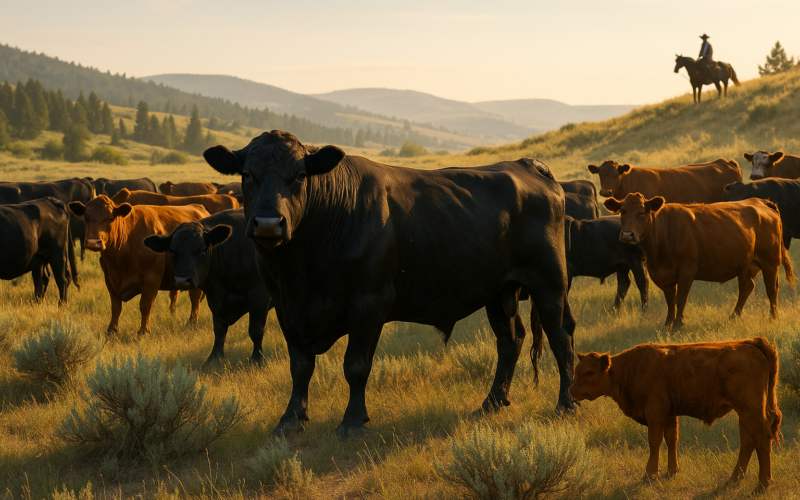
Turn several bulls out together and they’ll sort out who’s boss, usually with some pushing and a few skinned-up heads. That’s normal for the first few days. What isn’t normal is fighting that keeps going into the season. Two bulls locked up on the same fence line aren’t covering cows, and a dominant bull who spends his energy running the others off may still leave cows open because he can’t be everywhere at once.
Keep an eye out for a young bull getting whipped and hiding out. He’ll drift to the far corner and stay there, and you’ve effectively got one less working bull than you’re paying to feed. If the ratio is tight, that gap matters. Younger bulls generally cover fewer cows than a mature bull in his prime, and a bull worn thin or beat up covers fewer still. Don’t assume the numbers on paper are the numbers getting bred.
Have a plan for the one that’s done
The reason you ride through them is so you can act while there’s still calendar left. Pull a lame or injured bull, get him home, and either doctor him up or replace him if you’ve got a spare in the trap. A cow that isn’t settled in June can still get bred in July and stay in the herd. A cow that isn’t settled by the time you pull bulls is an open cow, and open cows are what wreck a year’s income.
Keep a rough tally of how many cows are still cycling as the season goes on. A bunch of cows still coming into heat three and four weeks after turnout is a red flag—it usually means a bull isn’t getting the job done, not that the cows are the problem. That’s your cue to get out there and figure out which bull, before the breeding window closes on the whole bunch.
Testing a bull before turnout is the price of admission. Watching him work through June and into July is how you make sure you got what you paid for. It’s a couple hours a week on horseback or in the pickup, and it’s a lot cheaper than a stack of open cows in October.